Day 3: Social Media Banners
Create a design (instagram Post), click on Elements, click on Frames See All, pull the circle frame into the design document, open the circle frame out almost to the margin of the design document, go to Your Pics Folder and upload as many selfies and headshots you like into that folder for you to use as your social media profile pics. Then come on back.
Drag and drop up to 12 selfies where you're looking directly into the camera into the circle frame. Double click on the pic in the circle frame and move and zoom the pic so your eyes are on the horizontal line. Save the design, download the profile pics, and save them on your computer as Circle Head Profile Pics. Then come on back.
Click the button to open the Canva Template that I've designed for your for your social media banners. Then come on back.
4. Scroll through the different designs and bring your favorite designs to the top and leave the designs you don't like at the bottom. Move each design documents up or down either with the up and down arrows or click on grid at the bottom right and rearrange the design documents in there. Then come on back.
5. Working only on your shortlist, swap out my logo and job description with you logo of full name in text and your job description. When writing out your name and your job description please change the font to your branded font. With lines and shapes you can work on the logo / full name and job description but on the frames you have to move the frame to the side and then do the work. When you're doing with your short list reposition the lines, shapes, and frames so it fits to your logo / full name and job description. then come on back.
6. With your shortlisted designs looking beautifully branded, now add in brand color imagery to each design document. Use the photo library from Canva, Unsplah.com, or you may have some branded imagery of your own that you can add in as well. You'll notice that one or two design styles that I 've created for you will work better than the others. With those one or two, create 12 social media banners for each design style. Then come on back.
7. Make the final call and bring your favorite design with a max of 12 images to the top. Title it Social Media Banners Facebook, download only the final images you want to use for your Facebook covers, and save them in a folder on your computer called Facebook Banners. Then come on back.
8. Click on Resize at the top left, choose 1 social media platform you'd like to resize your Facebook banner design to, for example Twitter, click on the Twitter option, click on Copy & Resize, then in the new design document change the name to Social Media Banners Twitter, download your 12 images, and save them in a folder on your computer called Twitter Banners. Do this for all social media platforms you're on.
9. Make sure that the exact same social media banner image in all of the right formats i.e. Facebook Banner, Twitter Banner, etc. are uploaded on the 1st of every month. Change the image each month. Do the same with the profile pic circle head each month. Upload one circle head image on all social media platforms as your profile pic on the 1st of the month. Change the image each month. Put a repeat reminder in your calendar on the 1st of every month until the end of eternity to change your social media banners and profiles pics.
10. This achieves excellent brand consistency. By doing this it will alert the algorithm that you've uploaded a new profile pic and banner and will automatically give you more engagement. Win win!
11. And remember to share your social media banners in our Community Group to show off your designs! I can't wait to see what you create.
Watch the Canva Course Day 3 Q&A.
As an Inner Circle member you get a major perk.
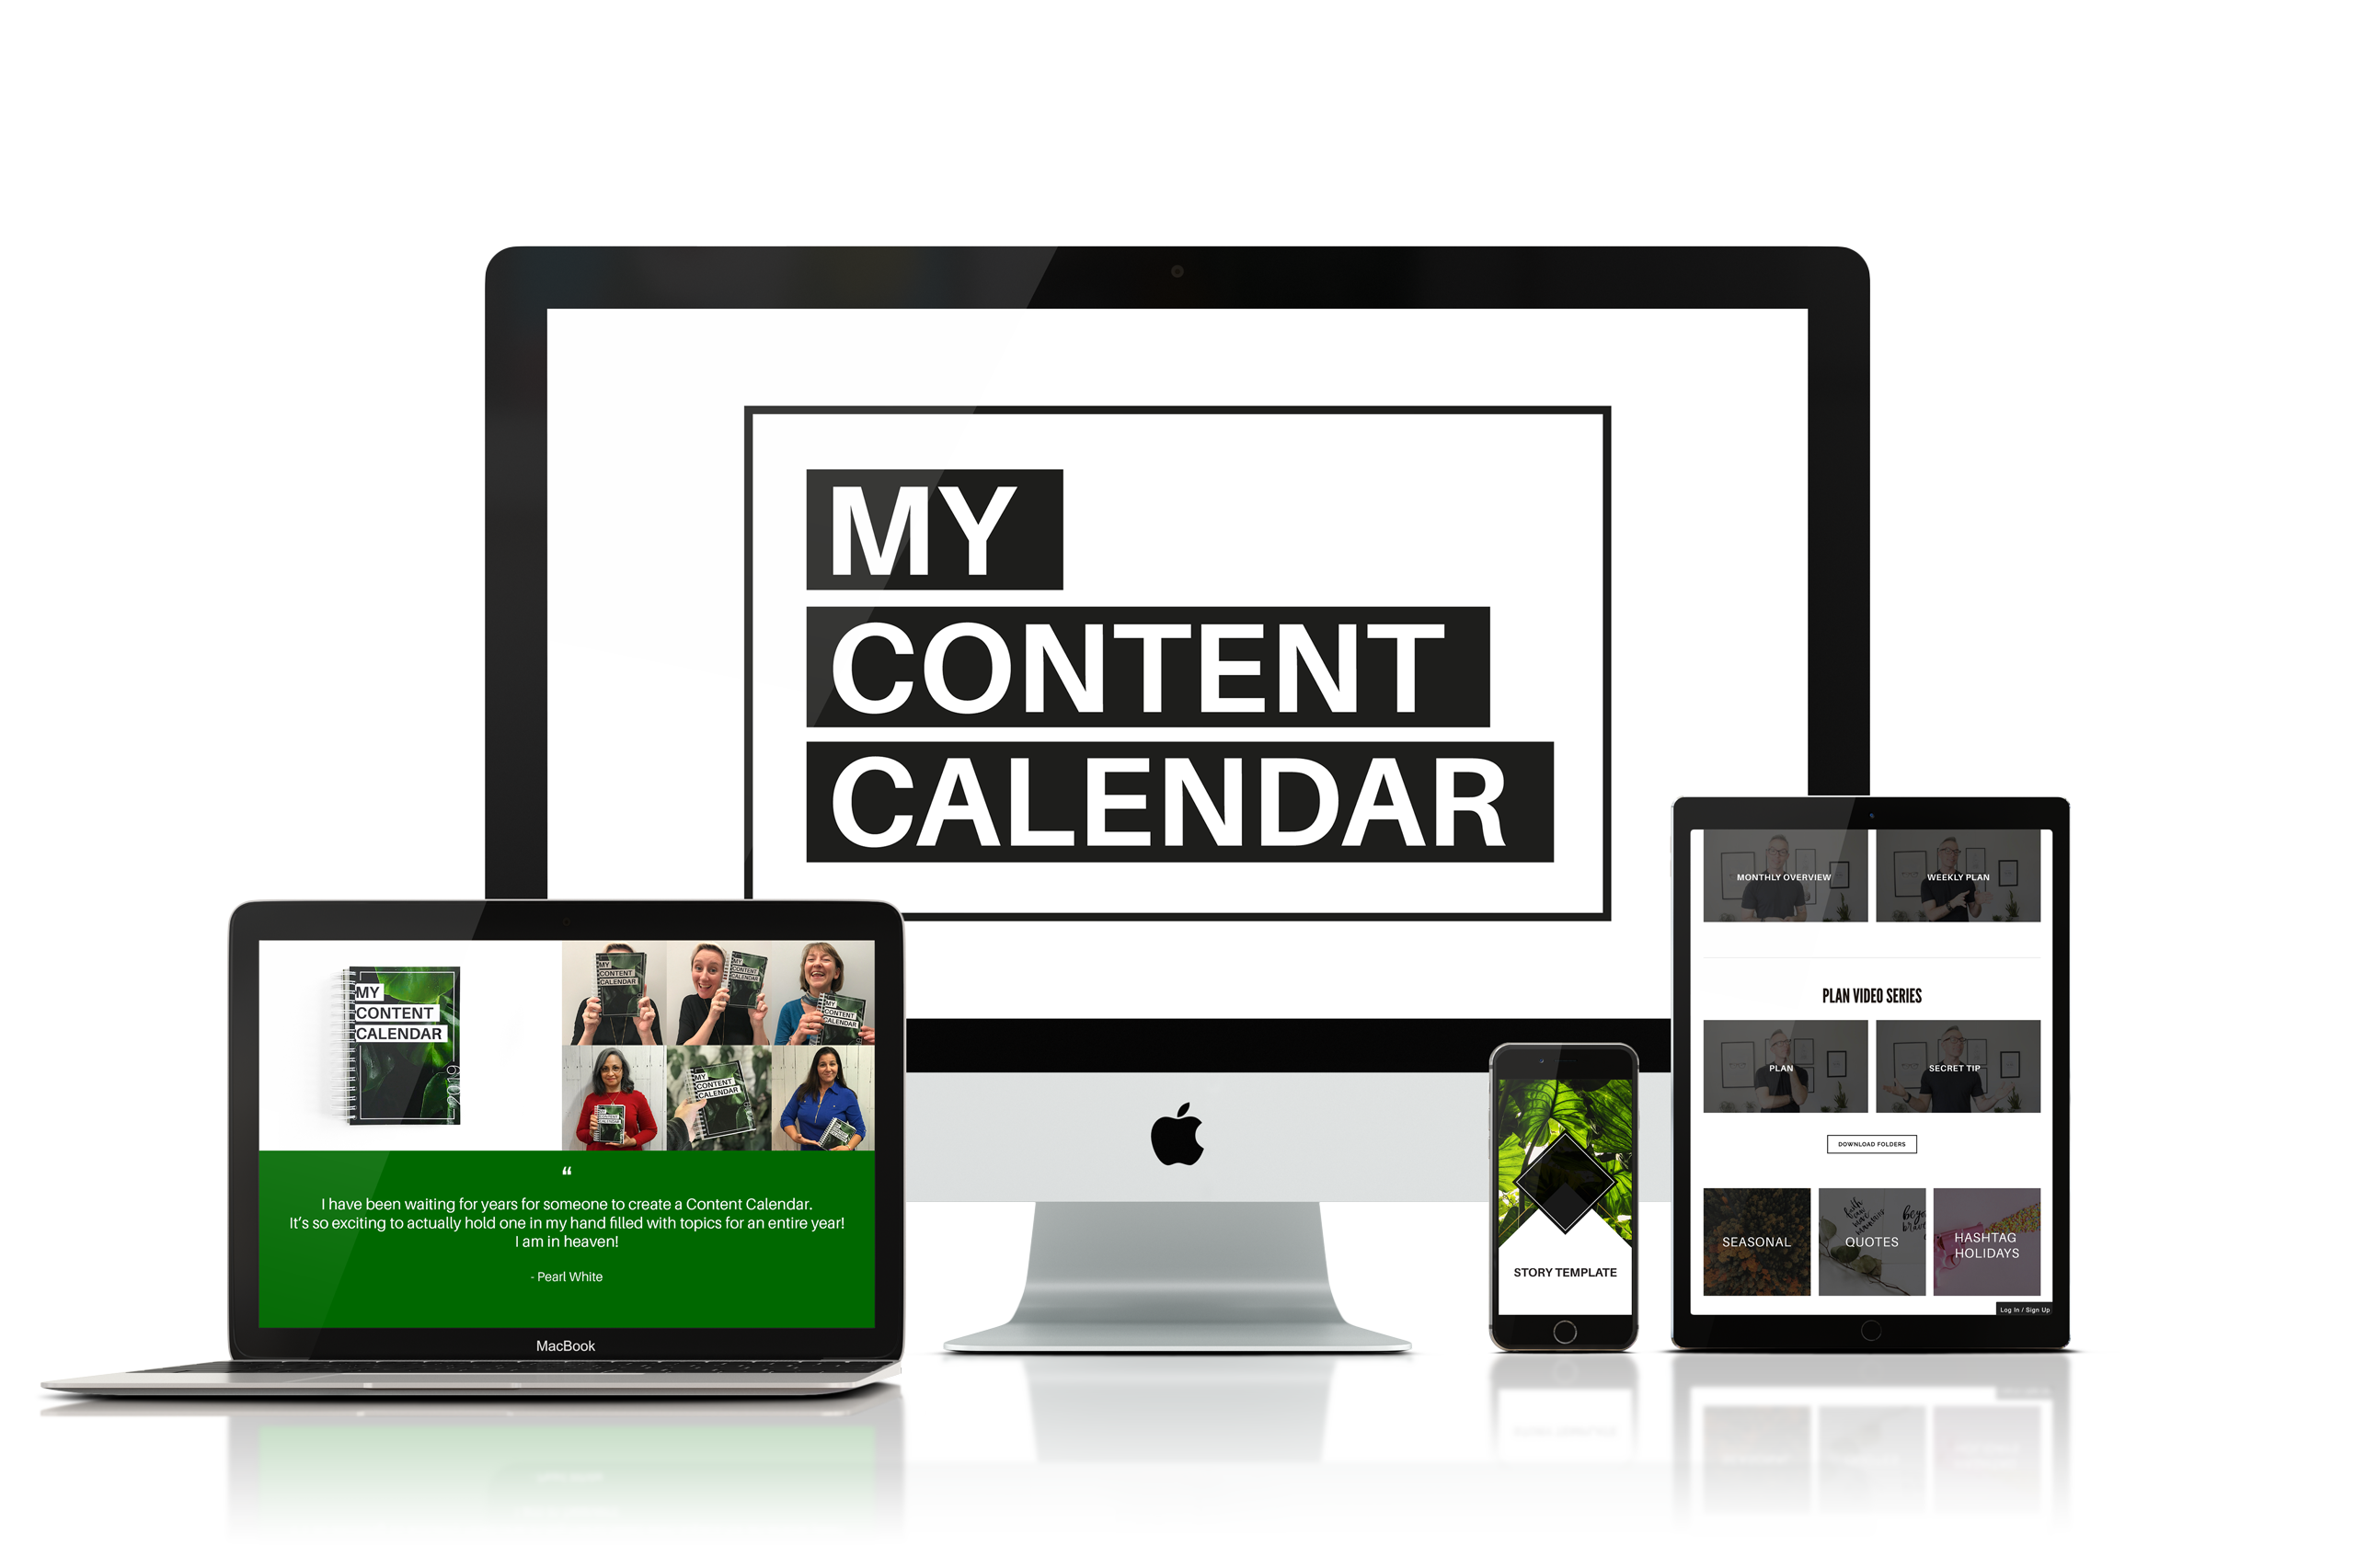
30% OFF MY CONTENT CALENDAR

Save over $100 off my online course and 16 month planner - My Content Calendar –
how to build your brand on Instagram 1 day at a time.
Savings of $109.
To get the Inner Circle Perk just click the button below, purchase My Content Calendar, then send us an email.
We will refund you the difference within 24 hours.


